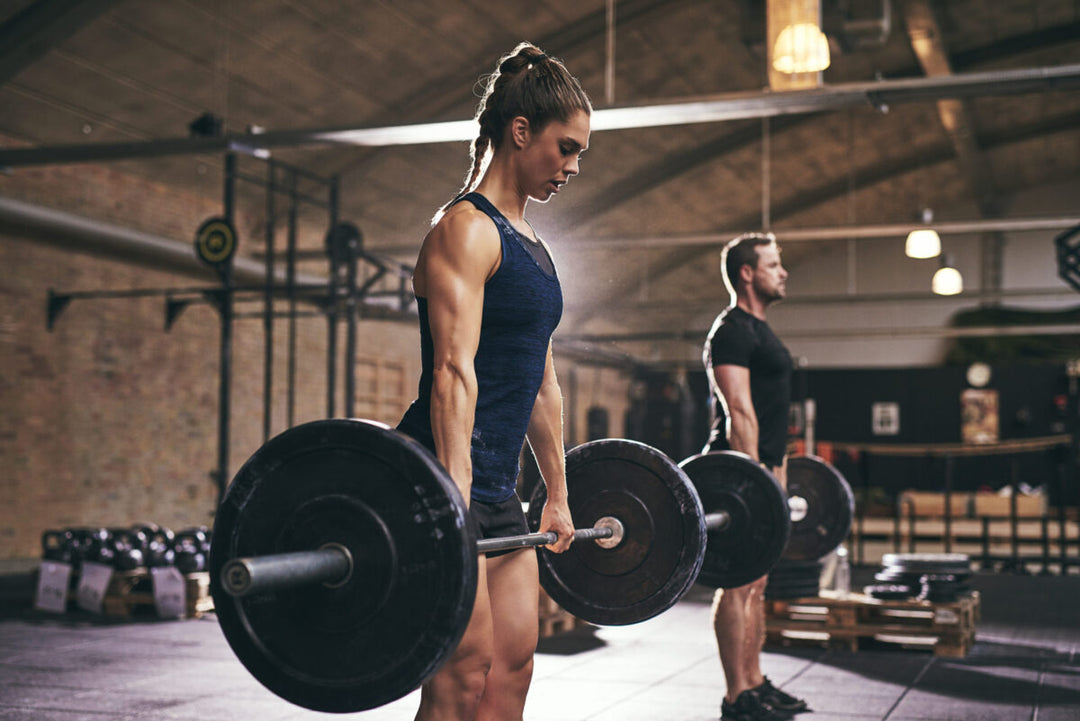
How To Deadlift: A Start-to-Finish Guide for Beginners
If you’re serious about getting in shape, learning how to deadlift is one of the best things you can do. This article gives you a start-to-finish guide for how to deadlift.
Why Should You Deadlift?
Check out all these amazing things that the deadlift can do for you:
- Build better abs & stronger, leaner legs.
- Eliminate back pain.
- Best bang for your buck exercise that gets you crazy strong.
- Run faster and jump higher.
- Break training plateaus.
- Have fun—must people say deadlifting is their favorite exercise!
Despite all these tremendous benefits, most beginners to weight training don’t include deadlifts in their workouts because they fear that they will hurt themselves or don’t know how to train them. The following ten tips will solve that by providing a step-by-step guide to start deadlifting with confidence.
How To Start Deadlifting
As long as you don’t over complicate things and always remember to follow a few basic rules, you’ll find the deadlift is actually pretty simple.
One important thing to address is that there are many types of deadlifts. To avoid confusing you, we’ll just talk about two variations of the deadlift: The conventional barbell deadlift and the hex bar deadlift.
Training with a hex bar is a great way to “make the deadlift easier” because the load is applied in line with the center of mass rather than in the front of your body.
In addition, because you grip the weight at the sides of your body rather than in front, it is easier to maintain the correct protracted posture than it is during a straight-bar deadlift.
The conventional barbell deadlift, on the other hand, requires more flexibility in the hips and ankles, which can be a great motivation for improving your range-of-motion in these joints.
The following are tips for how to perform the conventional barbell deadlift.
Tip #1: Always Remember The Two Most Important Things About Technique
- Keep your back tight and flat with the natural curve in the lower back. Avoid arching or rounding your back forward because this puts excessive stress on the spine.
- Keep the bar as close to you as possible throughout the entire movement. Start with the bar touching your shins. Keep it in contact with your body as you pull it up. This makes the motion easier because the weight is closer to your center of mass. It also avoids putting excessive stress on the spine.
Tip #2: Set-up Properly
You set the dead lift up by starting in standing position with your shins touching the barbell and your feet about shoulder-width apart. Point your toes just slightly outward so the knees track directly over the feet.
Squat down and grasp the bar with both hands. Your hands should be positioned right outside of your knees, which is generally slightly wider than shoulder-width apart.
Tip #3: Grip The Bar With The Palms Facing Your Body
Many people like to use an alternate grip where one palm faces towards your body and the other one faces away. However, it is recommended that you start with both palms facing towards your body because this will allow you to develop grip and forearm strength. Grip strength is often a limiting factor with the deadlift, making it worthwhile to work on it from the beginning.
Tip #4: Maintain Proper Back Position From The Start
Stabilize your lower back by contracting the abdominal muscles. This will produce the natural arch in the lower back. It’s very important you maintain the natural arch in the lower back throughout the exercise. The upper back should stay flat and your chest should be up and open.
Tip #5: Begin By Raising Your Hips, Shoulders & The Bar In Unison
Now you’re ready to raise the weight into standing position. As you stand up with the bar, your hips and shoulders should all move consistently together. Avoid jerky movements. Your movement should be smooth and coordinated.
Tip #6: Remember These Cues For The Deadlift Motion
As you raise the weight, focus on driving through your feet and lifting with the muscles of your glutes and hamstrings (your butt and the back of your thighs). Be sure to maintain that natural arch in the lower back and keep the chest up.
Remember, the bar should be in contact with your body from start to finish.
Tip #7: Avoid Pressing Your Hips Forward—Just Squeeze The Glutes
The upward motion is complete when you reach a standing position and straighten your knees and hips, squeezing your glutes. Avoid pressing your pelvis forward because this will hyperextend the lower back, which puts pressure on the spine.
Tip #8: Remember These Cues To Lower The Weight
To lower the weight, slowly bend the hips and knees at the same rate and return the bar to the floor in a controlled manner. The bar should be touching the body during the descent.
Tip #9: Avoid Bouncing The Weight Off The Floor
Bouncing the bar off the floor should be avoided during the beginning stages of deadlift training. Instead, touch the weights to the floor, pause a moment, and then complete the next repetition.
Tip #10: Stop Before Form Deteriorates
All repetitions should look the same. Always stop before your form breaks down.
One of the biggest mistakes that novices make is to use too much weight. If you can’t complete your intended number of reps with perfect form, be sure to reduce the weight.
Final Words
With these tips you should be well on your way to achieving intermediate deadlift status.
Good luck!


